

The Microsoft Dynamics 365 Business Central system allows us to efficiently edit the data we have collected in the form of record lists—such as Inventory, Customers, and Invoices—using the configuration package features and two-way Excel integration, which enable us to display our system data in Excel for editing with just a few clicks.
First, let’s take a closer look at the configuration package functionality, which is most commonly used when setting up a new company or an environment for basic data editing. Based on this functionality, the system recognizes and processes relationships between data tables.
To demonstrate this functionality, we will migrate all of our employees’ data to the new environment. In the source environment , click the magnifying glass icon to access “Configuration Packages ,” select “+New” from the ribbon , and then enter the Code and Name of the package; in our case, it will be “EMPLOYEES.”
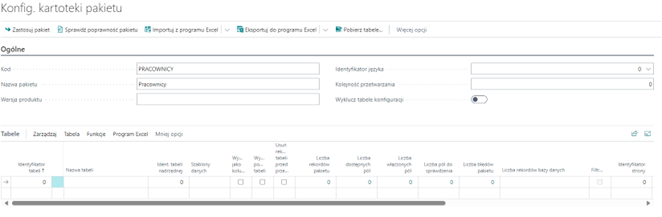
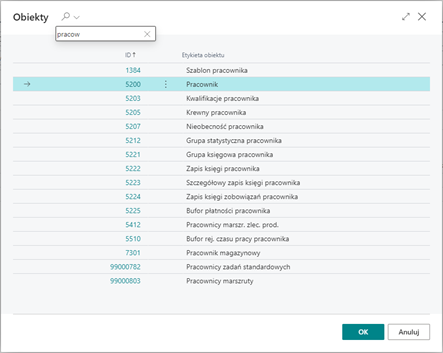
We go to the Table ID field and then search for the file we want.
In the table rows, select Table -> Fields, which allows you to filter the fields you want to edit in the table you selected earlier. Next, use the Export to Excel feature .
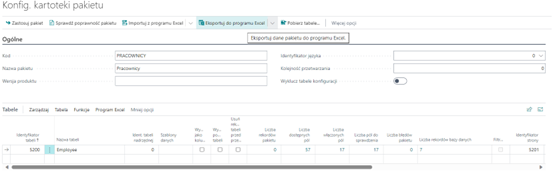
An Excel file containing data exported from the system—specifically, from a previously selected table—has been downloaded to our device. We can edit this file at any time, add new rows, and delete them (however, deleting table records using configuration packages is supported only if the option “Delete all table records before importing data” is enabled).

We navigate to the output environment where we want to import the previously edited Excel file containing our employees. We go to Configuration Packages, click +New on the ribbon , and then enter the Code and Name of the package. We must remember that the code and name must match those of the package we exported earlier. Next , on the ribbon , we go to the Import from Excel window to begin the data migration.
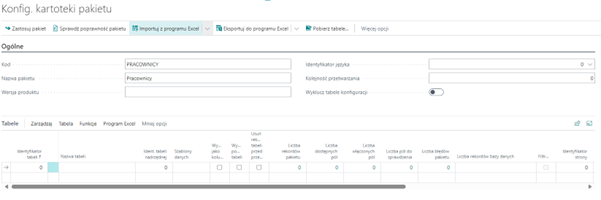
Select the Excel file you prepared earlier, and then click Import.
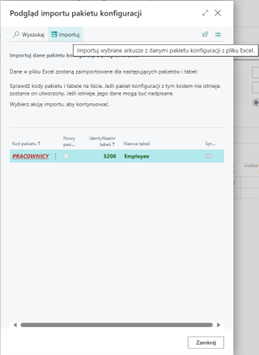
To validate the data in the file we imported, click "Validate Package" on the ribbon .
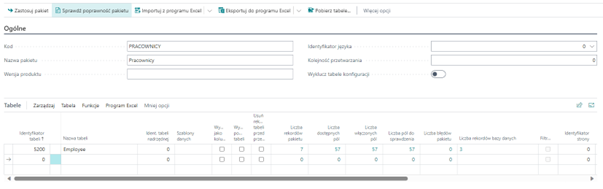
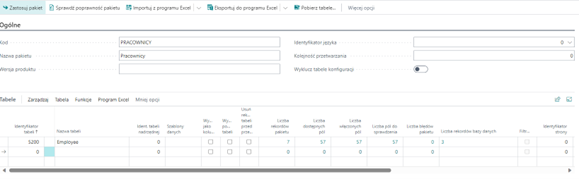
The final step in uploading our employees' data to the system is to select the " Apply Package" option on the ribbon .
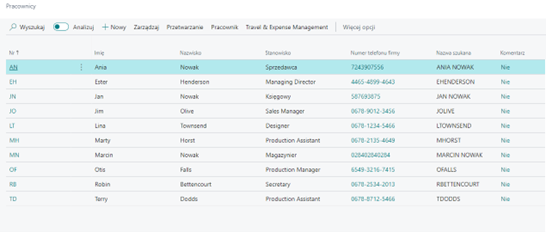
When you navigate to the "Employees" tab using the magnifying glass icon, a list of all employees whose data you imported using the Configuration Packages feature is displayed .
Another feature worth mentioning is the ability to filter the data you ultimately want to export. For example, if you need to export a list of employees working as production assistants for editing purposes, go to the Table -> Filters window in the previously configured configuration package .

Next, in the Field Identifier, select “Position,” and in the Field Filter field, enter “production assistant.” Return to the package file configuration tab and select “Export to Excel” on the ribbon . The final result at will be an Excel file containing data on employees in the position of production assistant.
The second feature discussed is two-way Excel integration, which allows users to easily export table data to Excel, edit it, and then publish the changes directly from Excel. For the purposes of this example, let’s focus on the Buyers records.
Use the magnifying glass icon to navigate to the Buyers tab . In the list of our buyers, click the ribbon to access the "Share this page with other users or apps" option, where you can choose from:
· Open in Excel: the ability to make edits to records without publishing the changes back to Business Central and without affecting the data in the system,
· Edit in Excel: the ability to make changes to records and have those changes published back to Business Central,
· Share in Teams: the ability to share a direct link to a file in Teams,
· Copy Link: the option to share a direct link to the file
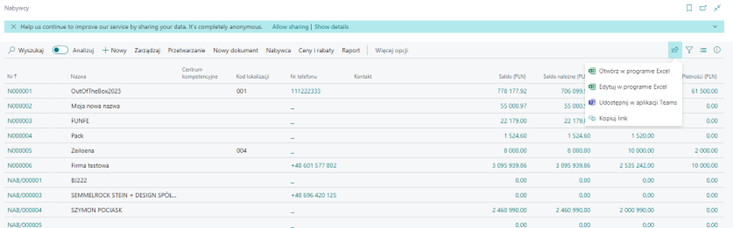
Focusing on the topic of this post—editing in Excel—we’ll now move on to the Edit option in Excel. An Excel file has been downloaded to our device in the appropriate synchronization mode with the Business Central database, containing exported customer data that we can edit in any way we like (when opening the exported Excel file for the first time, the system will prompt us to enable editing and sign in to a Microsoft account).

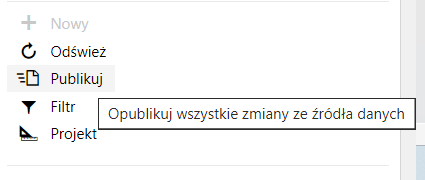
Once you have finished editing the data, the final step is to publish the changes to the Business Central system by clicking the Publish button .
In summary, thanks to the data editing features available in Microsoft Dynamics 365 Business Central, we can make changes and migrate data with great ease, saving time and eliminating potential errors. I personally encourage you to try out these features and follow our blog to learn about more useful capabilities of the Business Central system.


.png)